Baker and author, Emma Duckworth (of Emma Duckworth Bakes) comes up with the most delicious recipes, from super sweet Madeleines to show stopping apple caramel tarts, and what’s more, her photos of them are completely on point (think gooey close-ups, great props and linens that enhance, as well as plenty of natural light). A handy skill to have, especially for the gram, Emma has shared her top tips for those who want to capture their creation on an
iPhone.
Top 6 tips for iPhone Food Photography
by Felicity Carter
Want to take mouth-watering photos but don’t have access to professional camera equipment. Don’t worry, here
are my top 6 tips for you to nail those photos using your smartphone.
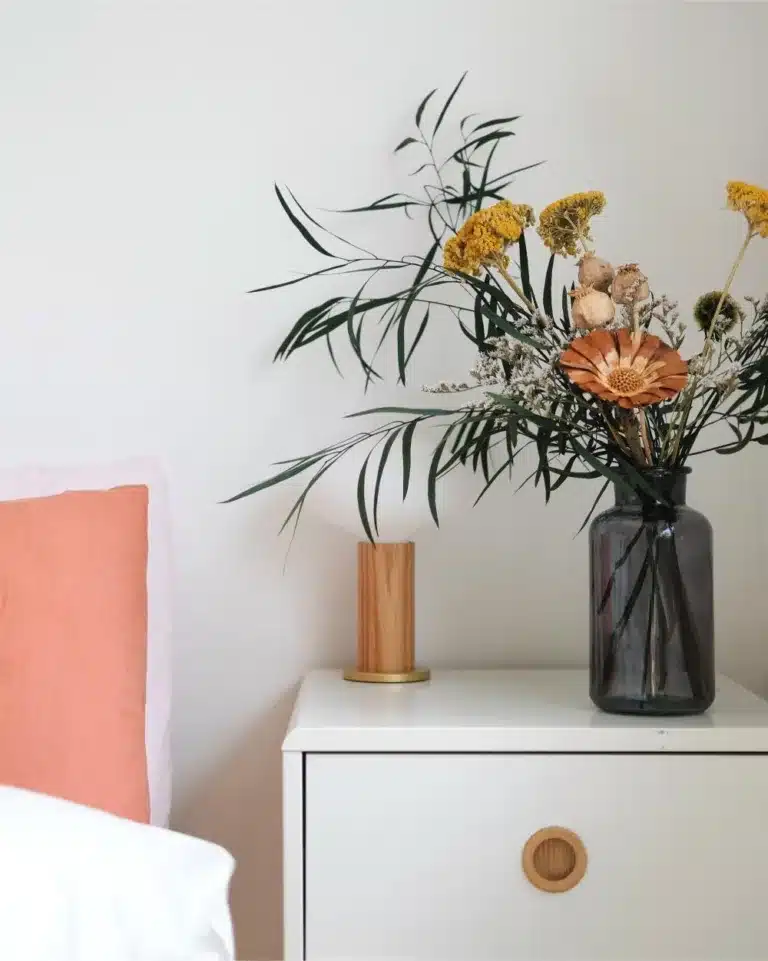
Natural Light
Shooting with a natural light source is one of the main tools to make your food look more appealing. Turn those overhead lights off, pull your scene next to a window so that the light falls in from the side (side light) or from the back (back light) and start snapping. If you need to soften shadows, try placing a white card opposite the light source so that it reflects light back into your setup. But don’t be afraid of shadows though, as they add visual depth.
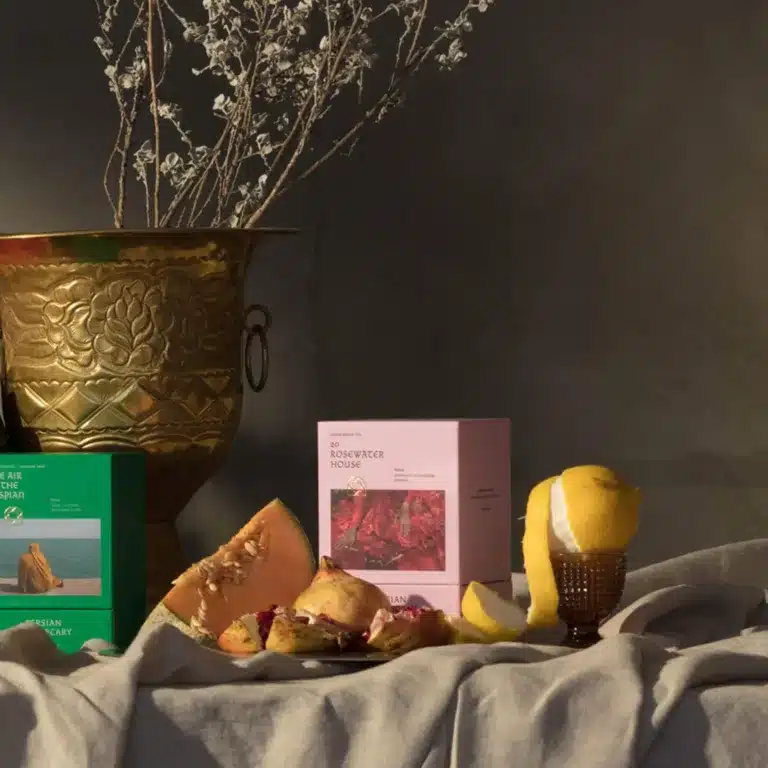
Props
Choosing the right props to add within your frame can help with the story telling aspect. Use props that don’t detract from the hero of the scene, the food, but rather props that complement. Layering with napkins, adding cutlery or glassware are ways to add visual interest and support the hero.

Composition
Switch on the grid lines on your camera’s app by heading into settings and turning them on. This enables the grid lines to be on constantly so that you can line up the objects within your image. Using the Rule of Thirds and placing elements on these grid lines or where these grid lines intersect, is more pleasing to the eye.
Negative Space
This is one of the most under-utilised tools in food photography, but one of my favourites for delivering impact. By not filling your scene with props, but allowing there to be space within the image, highlights the main subject enabling it to standout and draw our attention. It gives the viewer a chance to ‘breath’, and the ability to move around the scene and back to the detail of the subject.

Angles
Once you’ve set your scene, choosing the right angle to shoot at can make or break the image. The three best angles are overhead (or birds-eye), 45 degree or front on. Depending on what type of food you are shooting will determine what angle works best. For example, that stack of pancakes, or three tier layer cake deserves to be shot from front on to capture all those layers and height. Where as, a sourdough pizza is best shot from overhead to capture all the intricate details on top.
Editing
Once your photos are taken, post editing will catapult them to the next level and help develop your own personal style. Do this through third party apps such as VSCO or Snapseed or use the editing software that many professionals use, Lightroom Mobile, for the maximum capabilities to enhance the image. Increasing your exposure, playing with contrast, and tweaking the colours, are all ways to work towards your final edit. Don’t go overboard here, knowing when to stop is also important. And filters are not your best friend, so don’t be tempted!

For all your dessert fancies, see Emme’s new book Simply Sweet Nostalgic Bakes : 55 Elegant Takes on Comfort Classics by Emma Duckworth Bakes.